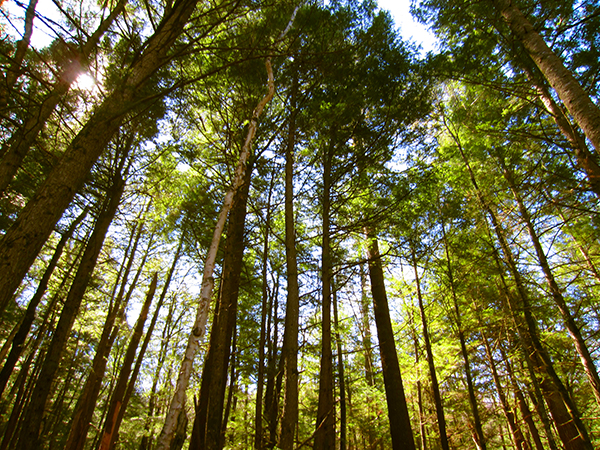
Let's assume you enjoy spending time in the woods, after all, that’s one of the draws of the mountains, right? One thing we need to be mindful of is the immense size of the Adirondacks and the remoteness of the situations in which we will place ourselves. No trip onto the trails should be seen as a quick jaunt in the woods, and a basic level of preparedness should be the foundation of every outing.
If you are headed out to explore nature’s beauty, take the time to gather and pack those few items necessary to increase the odds of a happy outcome should you really need one. Don’t expect misadventure, but plan for it.
There isn’t room in a single blog post to cover everything to take in an emergency kit (OK, maybe there is), but let’s talk about the greatest aid to shelter and survival that requires the least amount of room in a kit, that being the ability to make fire.
First off, when you need a fire, I mean really need a fire, there’s no such thing as cheating. If you have matches, then great, use matches. If you have a lighter, that's even better. But, just suppose, your bad day just keeps getting worse. You’ve fallen in an icy brook, your matches are soaked, and your trusty lighter has picked this exact moment to let you know it is out of butane. Now is the time to fall back upon the secret weapons that you have packed.
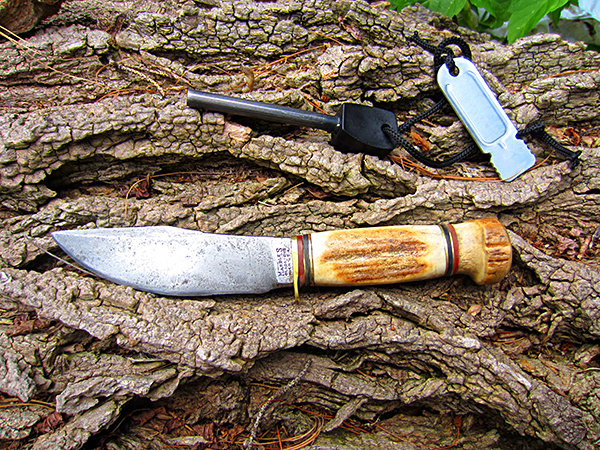
A fire starting rod made of ferrocerium or magnesium and a carbon steel knife are the basic fire starting tools that you should pack for survival preparedness. The ferro rod can be found at almost any hardware store or camping outfitter, and is usually around $5 — a small investment (how much would you pay for one when you are out in the middle of it?) Here is an important piece of useful information. Do you see that bit of steel on the end of the string that comes with your rod? That is there just to keep you busy until you die of exposure. Throw it away, it is useless. You are going to need a knife to start a fire with the ferro rod. The knife need not be a carbon steel knife, but it will make your life a lot easier if it is.
Let’s take a minute to talk about camp knives. Do you need a big honkin’ knife to start a fire? No, chances are any decent quality pocket knife would do, but a camp knife is indispensable for the tasks that will befall you, when you unexpectedly have to spend some time in the woods. Mine is a Marble’s Woodcraft knife dating to 1917. I love it, love it, love it. It has outlived the 3 or 4 generations of campers who have abused it and it just might outlive me.
What is a camp knife, you ask? It is a knife that has limited use for hunting (perhaps you could cape a deer with it if you had to), but is indispensable for all the cutting, chopping, hacking, and hewing that you would do on a daily basis around a camp. The edge on this Marble’s Woodcraft knife will still be sharp after whacking out a dozen tent pegs, and the carbon steel is superior for raising sparks off flint- or in our case ferrocerium. You can talk to me all you want about the advanced metallurgy available in modern knives, but you’ll never get my vintage Marble’s knife away from me.
It’s been a wet summer here and the day I did this was rare a break from the rainfall. While this made things wet enough for a real world test, when you are in an emergency situation conditions might be a lot worse than this. Everything I am showing you here will still apply.
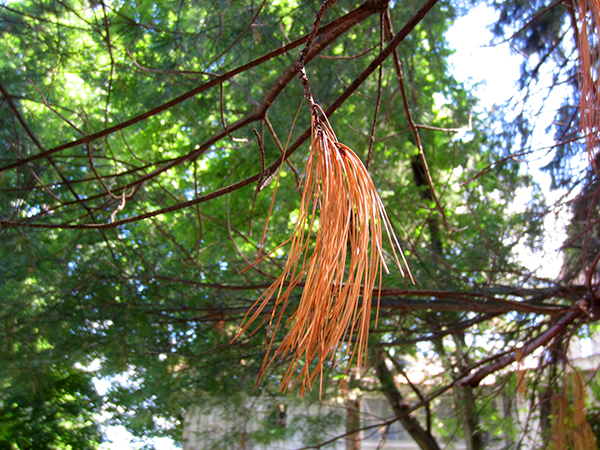
Assume that everything on the ground is too wet for starting a fire. Look upward. Look for downed branches that have caught on limbs, look for dead leaves on snapped branches, but most importantly look for resinous trees like the pine and cedar that are prevalent throughout the Adirondacks. Peelings of birch bark are also excellent. Here I have found some dead white pine needles hanging from the lowest branches of the tree that will do nicely for tinder.
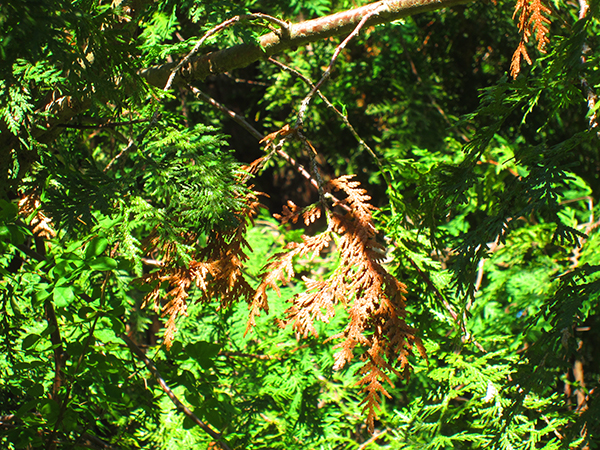
Keeping my eyes up, I find some brown cedar twigs among the green. I also found dead wild grape tendrils that were brittle despite all of the rain.
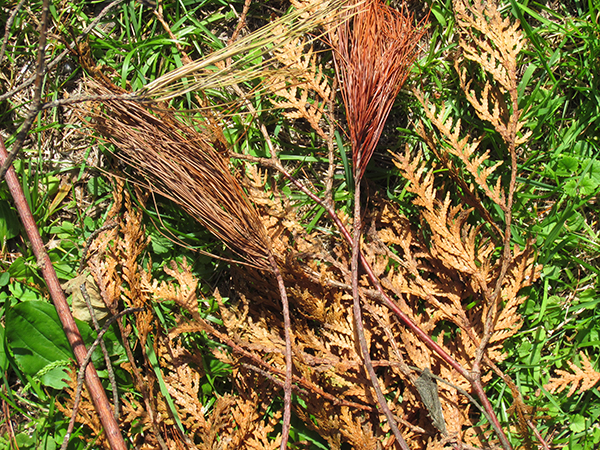
I will use all of this for tinder. I don’t need a whole lot of it, but the more the merrier. Not pictured are two or three piles of twigs and sticks to throw on as soon as I have a flame. These are broken to length and grouped by size from small to large.
In the wilderness, expect to need heaps more wood to burn than you think. Now is the time to gather it, before you start your fire and while you still have daylight. Make a huge mound of unsorted sticks and logs off to one side. Unless your pile is sizable, plan to forage for more, hopefully not in the dark. Burn the driest wood first and place the wet wood on the edge of the fire to dry as it burns.
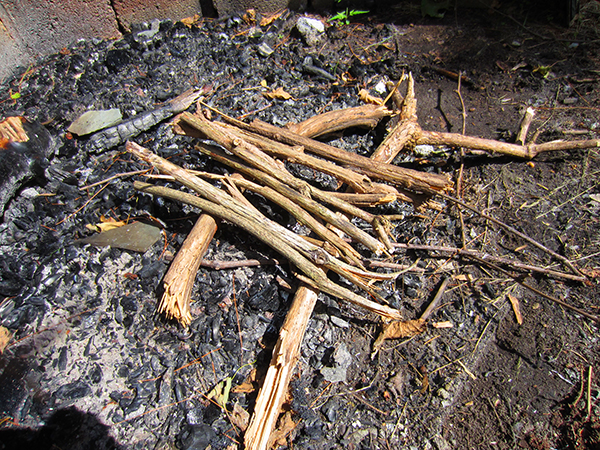
Don’t start your fire on wet ground. Here I’ve laid two larger sticks parallel to each other and laid smaller sticks across them. This will act as a pallet for the tinder.
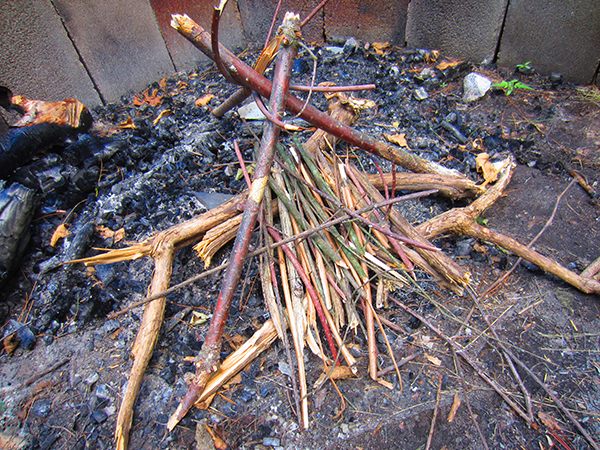
I place three sticks into a tripod over this.
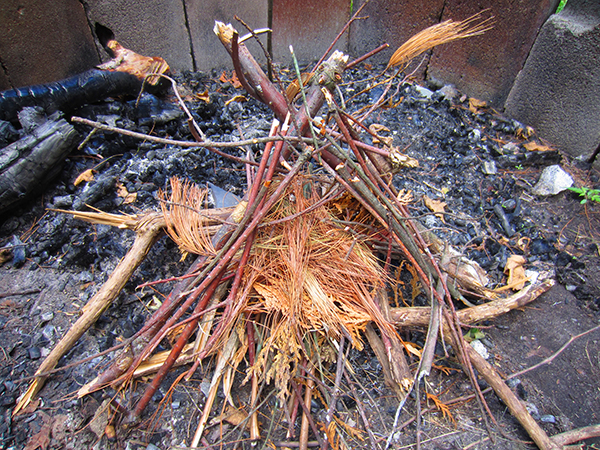
Nestle your tinder under the tripod. Put small twigs around two sides of the tripod.
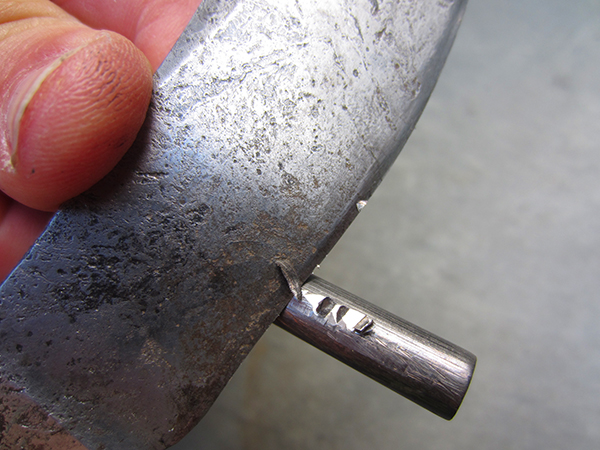
Here is what is going to make your fire, rain or shine. With the edge of the knife slowly dig into the rod raising up little shavings. If you do this slowly enough, they will not ignite.
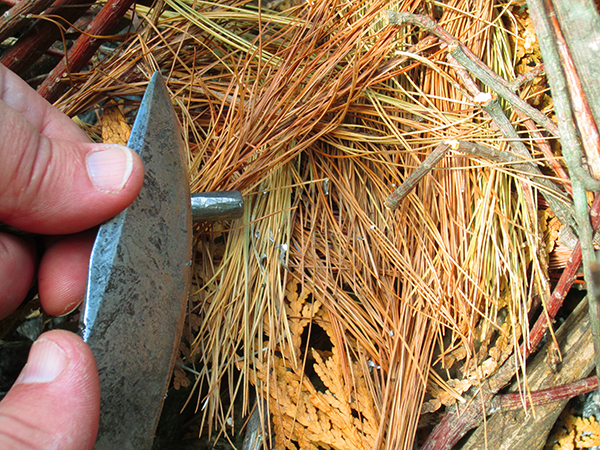
I like to hedge my bet by flaking the ferro rod onto my tinder. In dry weather this is not necessary, but in a downpour this is what will save your life. Worst case scenario, if everything is sopping wet, take a dead leaf and flake a small pile of chips on it. Nestle the leaf down in your resinous tinder and aim your sparks at the pile in the leaf pouch.
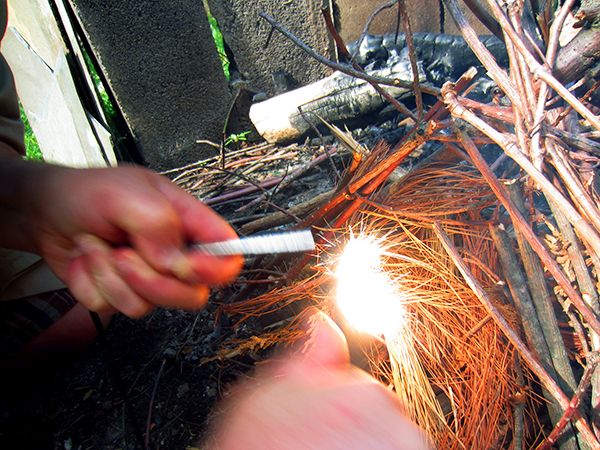
Once your tinder is prepared, firmly grasp the ferro rod and draw your knife edge over it, as if you are whittling. There should be dramatic sparks produced. While this is confidence inspiring (and rightly so, “Hooray, I’m not going to die!”), a fireworks show is not productive, as it means it is burning in the air and not in the tinder.
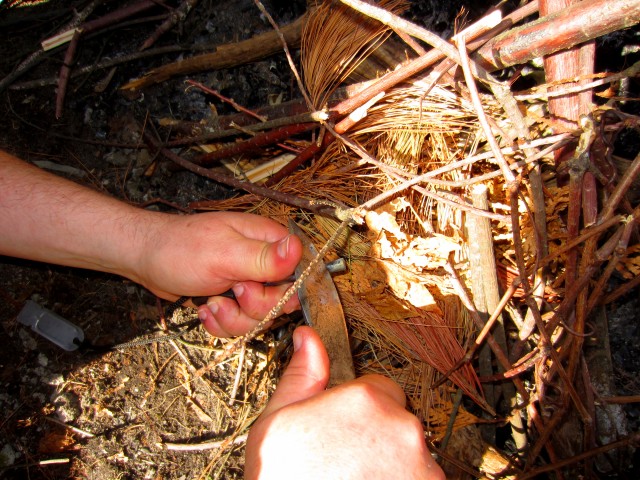
Here is the position I use to control the igniting sparks. With a firm grip on the rod and the blade near the rod’s end, use your left thumb to push the blade forward.
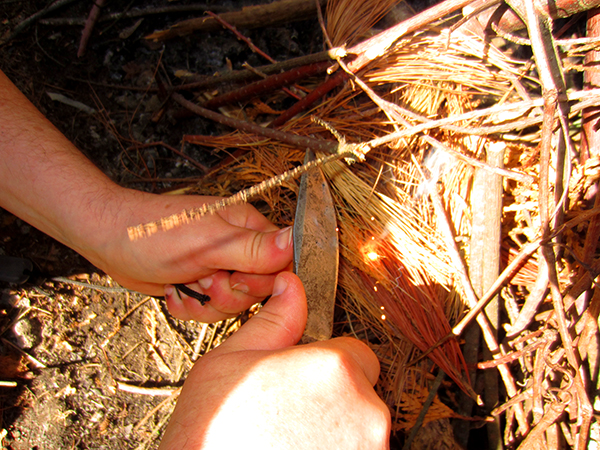
With this controlled grip, the spark will be a small fireball that will jump off the end of the rod onto the tinder. Don’t expect a fire to catch in two tries. In fact, a great amount of swearing will help you in the woods as you endlessly hack away at the rod, until finally an outgoing expletive gets interrupted with a “holy *%#@! It worked! Hooray, I’m not going to die!”
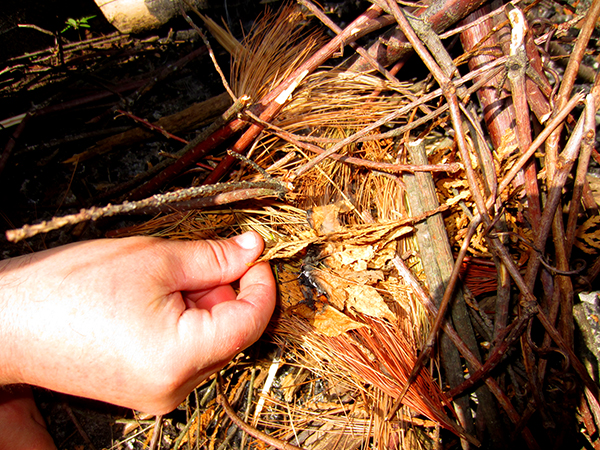
The spark will cause an ember that will spread. Feed the ember with bits of tinder from the pile.
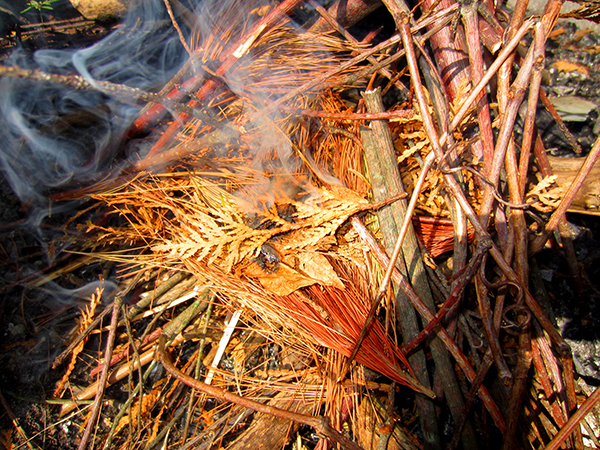
Chances are you will see smoke and no fire. Carefully feed the ember and blow very gently if necessary. Often the first flame is invisible in the smoke. Keep with it until you see a flame or the smoke goes out (then try again).
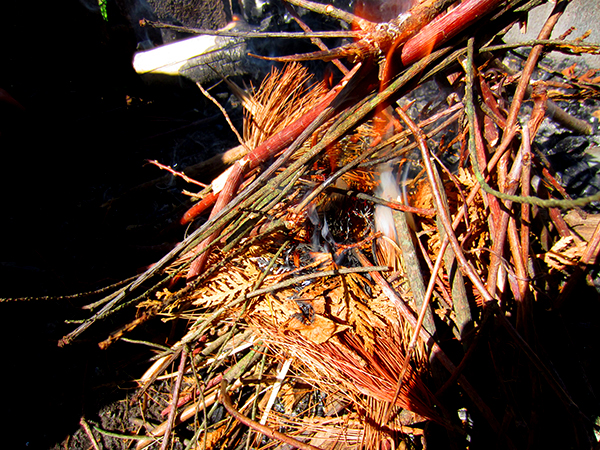
Hopefully the ember will grow into a tiny flame. If you blow on it, blow gently, as it will snuff easily. Once you see a flame, immediately add small twigs from the piles you have at your side. Add larger sized sticks as the flame takes.
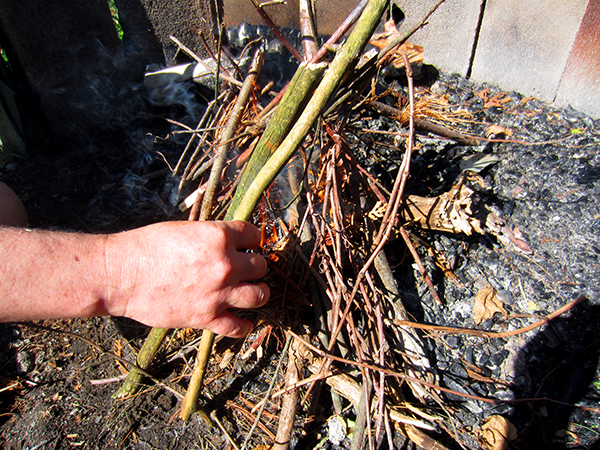
As the flame grows, add larger and larger sticks. The idea of the tripod is to give the fire a vertical surface of fuel to catch as it rises. This is the best way to grow a fragile flame with damp wood.
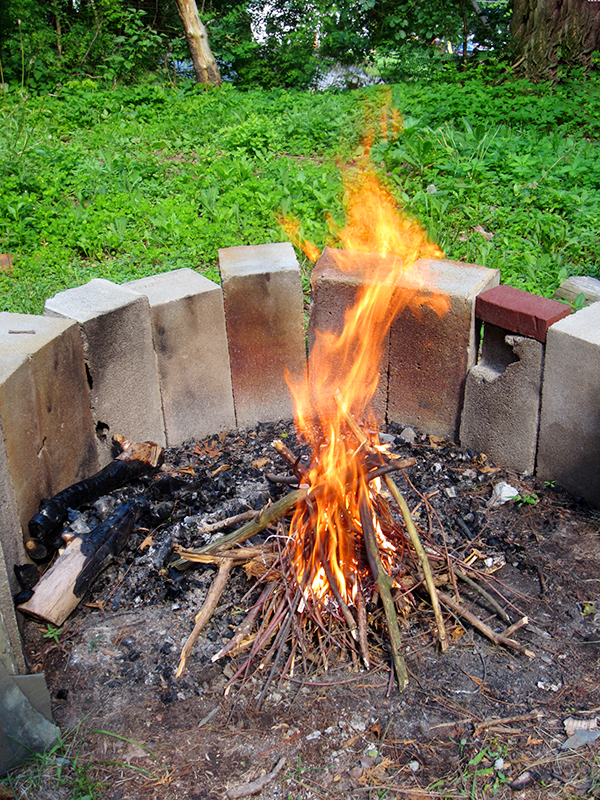
Fire! All that is left now is to carefully introduce the larger pieces of wood that you have scavenged. Use the fire you have created to dry out the wetter wood as you burn the drier wood. Once you get the larger pieces going, rest and recoup your energy and feel good about your accomplishment.
Are you prepared for adventure? As we travel into the woods of the Adirondacks, I hope we will all make the most of our time there by starting out with safety in mind!


